Making bread at home is easier than you might think. You don’t need a bread machine or any special equipment, just a few basic ingredients, your hands, and a little patience.
I love making homemade bread because you can shape it however you like. Sometimes I make a large round loaf, but you can also use the same dough to make small buns or a regular loaf in a bread pan.
If you’ve never made bread before, don’t worry. This simple homemade bread recipe is a good place to start.
Ingredients for Homemade Bread
You only need five basic ingredients to make this easy homemade bread:
All-purpose flour: 2 cups
Active dry yeast: 2 teaspoons
Warm water: 1 cup
Sugar: ½ tablespoon
Salt: ½ teaspoon
The most important thing is getting the right dough consistency. It should be soft and slightly sticky, not hard or tight.lightly sticky, not hard or tight.
How to Make Homemade Bread Step by Step
Step 1: Activate the Yeast
Start by adding 1 cup of lukewarm water to a large mixing bowl. Add 1/2 tablespoon of sugar and 2 teaspoons of active dry yeast.
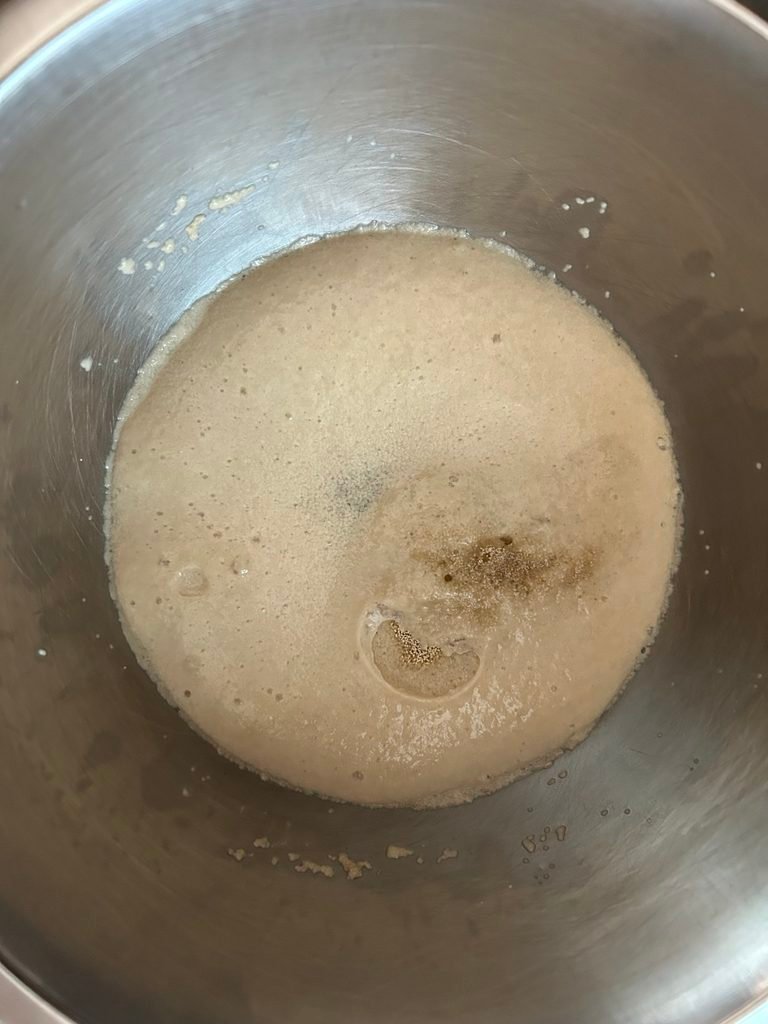
Give it a gentle stir and let it sit for about 10 minutes. You should notice bubbles and a foamy layer forming on the surface. This means the yeast is active and ready to use.
If the mixture doesn’t become foamy, the yeast may be inactive, or the water may have been too hot or too cold.
Step 2: Prepare the Dough
Once the yeast is activated, add 2 cups of all-purpose flour and 1/2 teaspoon of salt.
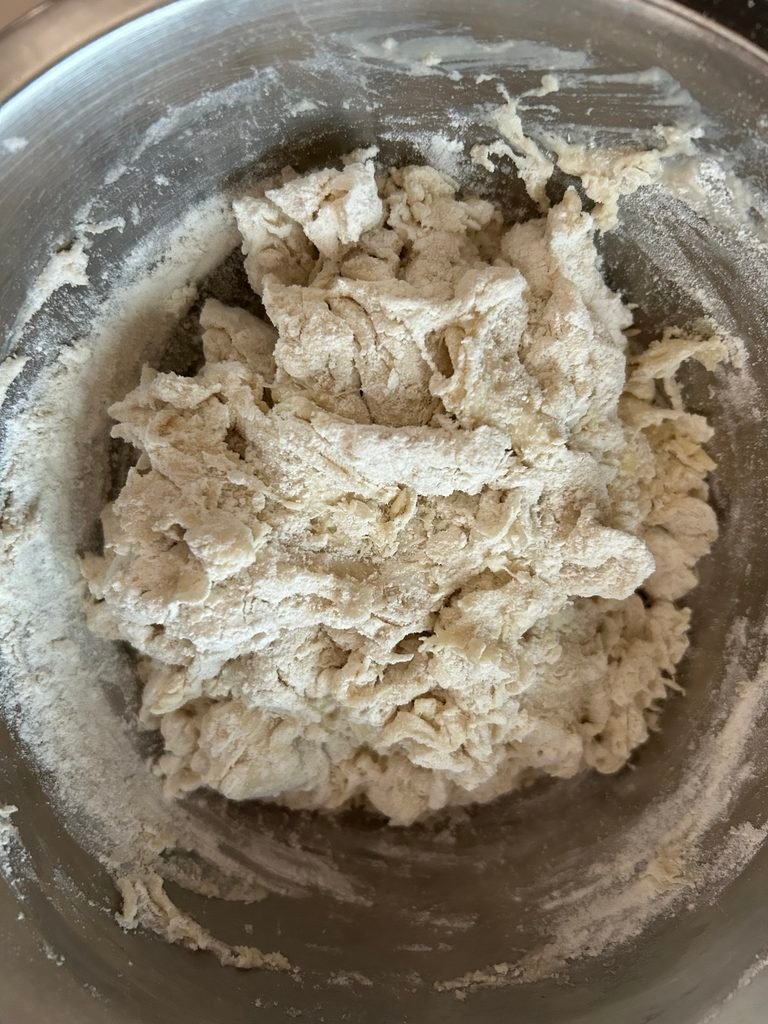
Start mixing everything with a spoon until the ingredients begin to come together.
If the dough feels too sticky, add one or two tablespoons of flour. If it feels too dry, add two or three tablespoons of water, a little at a time.
The dough should be soft and slightly sticky. Don’t make it too tight by adding too much flour.
Step 3: Knead the Dough
Once the ingredients come together, transfer the dough to a clean, flat surface.
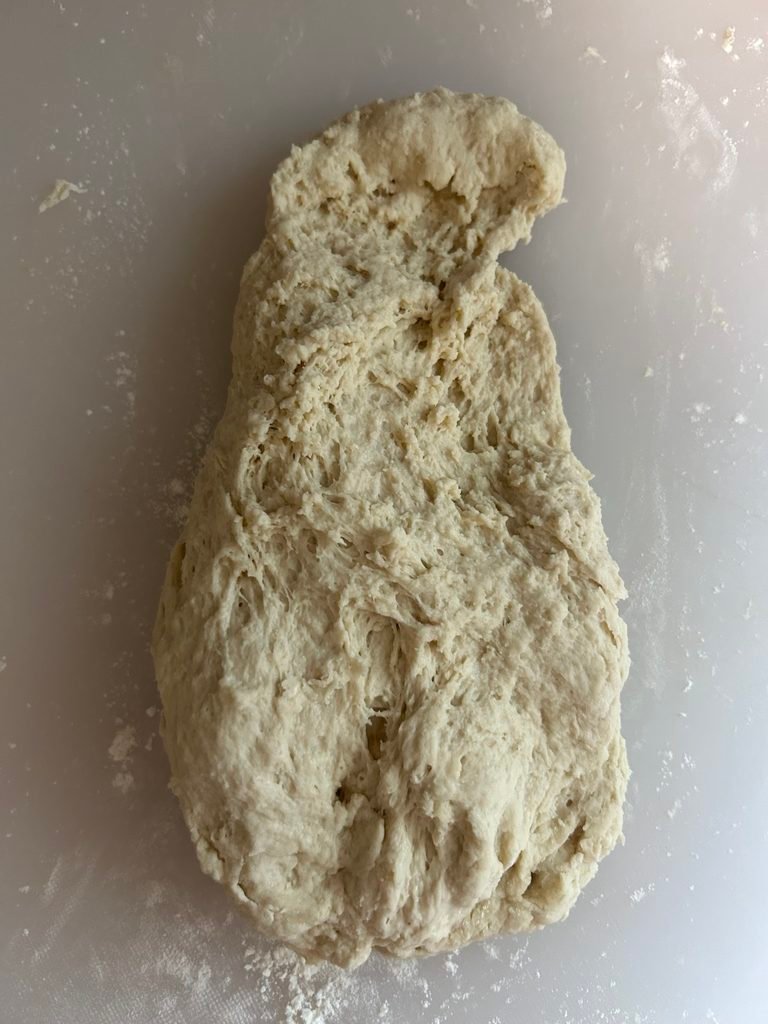
Start kneading with your hands. You can push, fold, stretch, and even punch the dough gently as you work.
Continue kneading for about 5–7 minutes until the dough becomes smoother and easier to handle.
If the dough has the right consistency after kneading, you don’t need to grease the bowl before putting it back.
Step 4: Let the Dough Rise
Place the kneaded dough back into the bowl and cover it with a plate or plastic wrap.
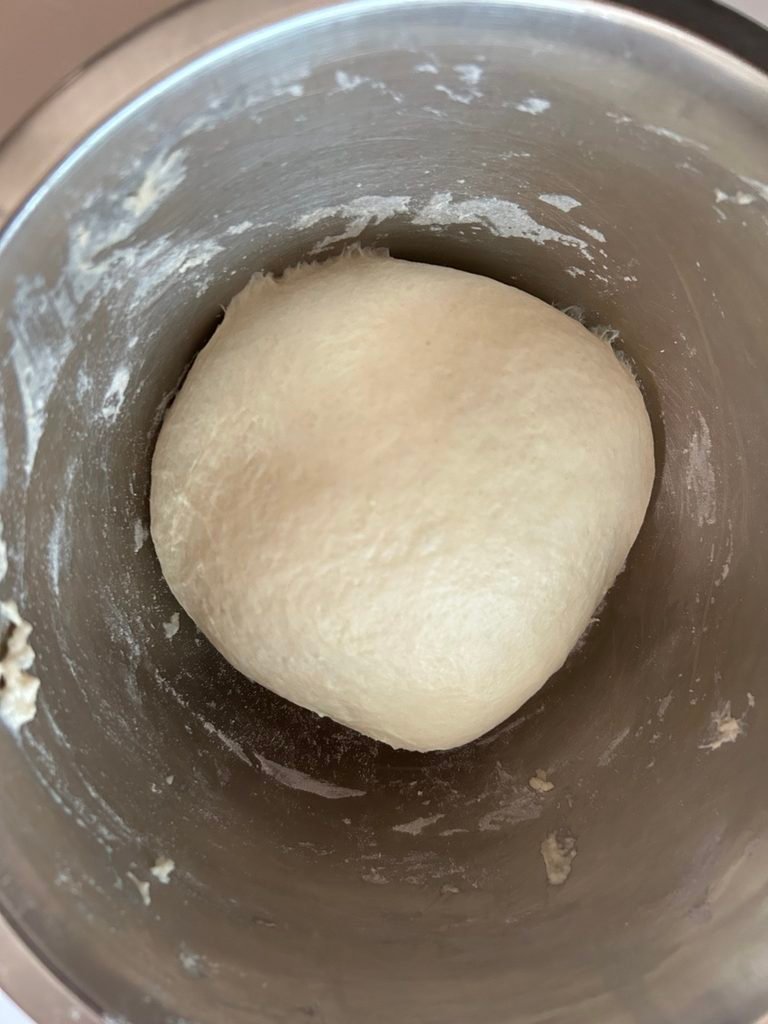
Leave it undisturbed until it doubles in size.
The time needed for the dough to rise depends on the temperature of your kitchen. If the weather is warm, the dough may rise faster. On colder days, it may take longer.
Don’t rush the process or rely only on the clock. Let the dough rise until it has doubled in size.
Step 5: Punch Down and Shape the Bread
Once the dough has doubled in size, gently punch it down to release the trapped air.
Knead it again for about one minute.
Now shape the dough however you like.
You can make: Small bread buns, a regular loaf in a loaf pan, or one large round loaf like I made.
After shaping, let the dough rest for another 10–15 minutes.
Step 6: Preheat the Oven and Bake
While the shaped dough is resting, preheat your oven to 350°F (175°C).
Once the oven is ready, place the bread inside and bake for approximately 20–25 minutes.
Baking time may vary depending on the size and shape of your bread. Small buns may bake faster, while larger or thicker loaves may need additional time. Check that the center reaches about 190–200°F before removing the bread from the oven.
Every oven is different, so keep an eye on your bread as it bakes. Smaller buns may bake faster, while larger or thicker loaves may need additional time.
The outside should become nicely golden brown.
Step 7: Cover and Cool the Bread
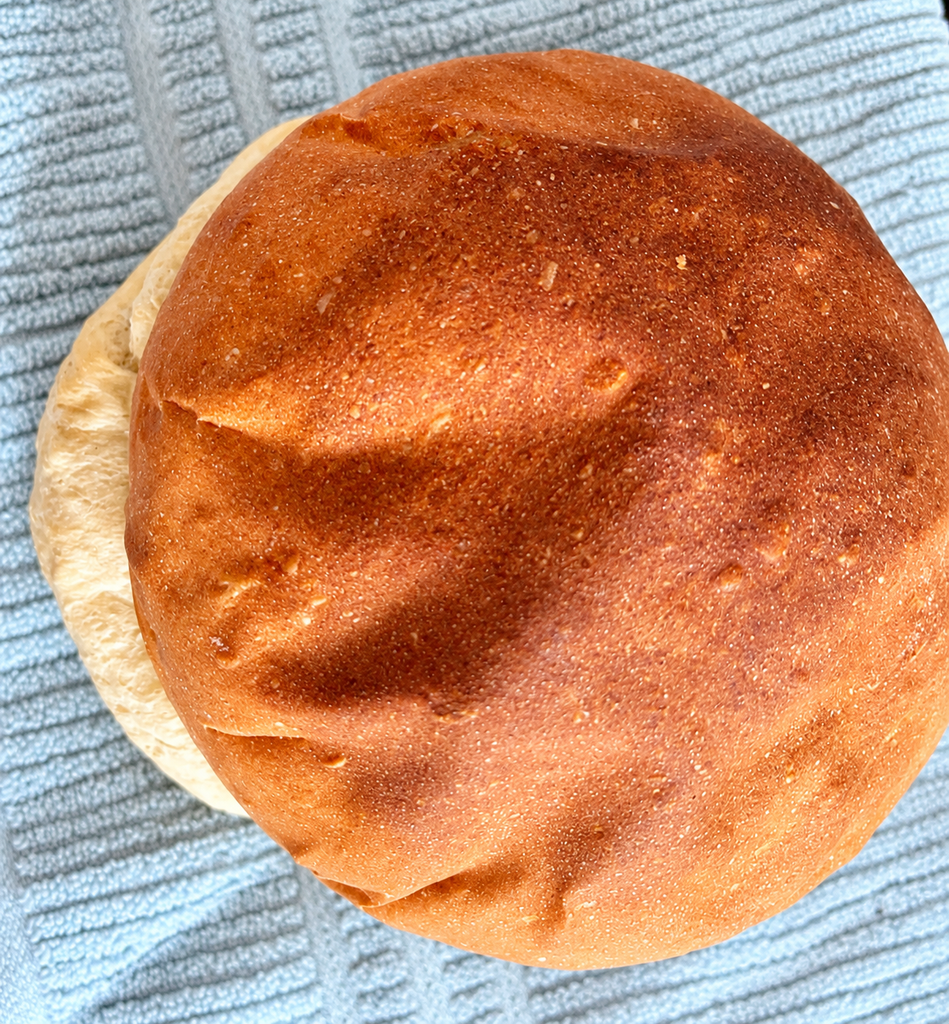
Once the bread is baked, remove it from the oven.
Cover it loosely with a clean kitchen towel for about 30 minutes. This helps keep the crust from becoming too hard as the bread cools.
After that, your homemade bread is ready to enjoy!
Helpful Tips for Making Homemade Bread
1. Keep the dough soft.
The dough should feel soft and slightly sticky when you start kneading. Avoid adding too much flour, as this can make the bread dense.
2. Knead the dough well.
Kneading for 5–7 minutes helps develop the dough’s structure. As you knead, it should gradually become smoother and easier to handle.
3. Let the dough double in size.
The time needed for the dough to rise depends on the temperature of your kitchen. If the weather is warm, the dough may rise faster. On colder days, it may take longer. Don’t rush the process or rely only on the clock. Let the dough rise until it has doubled in size.
4. Don’t skip the second rest.
After shaping your bread, let it rest for another 10–15 minutes before baking.
5. Keep an eye on the oven.
Every oven is different. Start checking your bread toward the end of the baking time. The outside should be nicely golden brown.
6. Cover the bread after baking.
Once you remove the bread from the oven, cover it loosely with a clean kitchen towel for about 30 minutes. This helps keep the crust from becoming too hard as the bread cools.
How to Store Homemade Bread
Homemade bread is best enjoyed fresh, but you can easily store leftovers for later.
At room temperature: Let the bread cool completely, then store it in an airtight container or bread bag for about 2–3 days.
In the freezer: For longer storage, slice the bread and place it in a freezer-safe bag. Freeze for up to 3 months. This makes it easy to take out only the slices you need.
To reheat: Warm the bread in a toaster or oven for a few minutes. Frozen slices can go directly into the toaster.
Tip: Avoid storing homemade bread in the refrigerator, as it can dry out and become stale faster.
Frequently Asked Questions
Why is my homemade bread dense instead of soft?
Bread can turn out dense if the dough is too dry, hasn’t been kneaded enough, or hasn’t had enough time to rise. Make sure your dough is soft and slightly sticky, and allow it to double in size before shaping.
How long does homemade bread take to rise?
It depends on the temperature of your kitchen. Dough usually rises faster in warm conditions and takes longer in a cooler kitchen. Instead of following a fixed time, wait until the dough has doubled in size.
Can I make this bread without a loaf pan?
Yes! You can shape the dough into a large round loaf, just like I did, or divide it into smaller buns. You don’t need a special bread pan for this recipe.
How do I know when my bread is fully baked?
The outside should be nicely golden brown. You can also gently tap the bottom of the loaf. If it sounds hollow, that’s usually a good sign that the bread is ready. For a more reliable check, the center should reach about 190–200°F.
Why didn’t my bread rise?
The yeast may have been old or inactive, the liquid may have been too hot, or the dough may not have had enough time to rise. Make sure your yeast is fresh and give the dough enough time, especially on colder days.
Can I freeze homemade bread?
Yes! Let the bread cool completely, then slice it and store it in a freezer-safe bag. You can freeze it for up to 3 months and take out slices whenever needed.
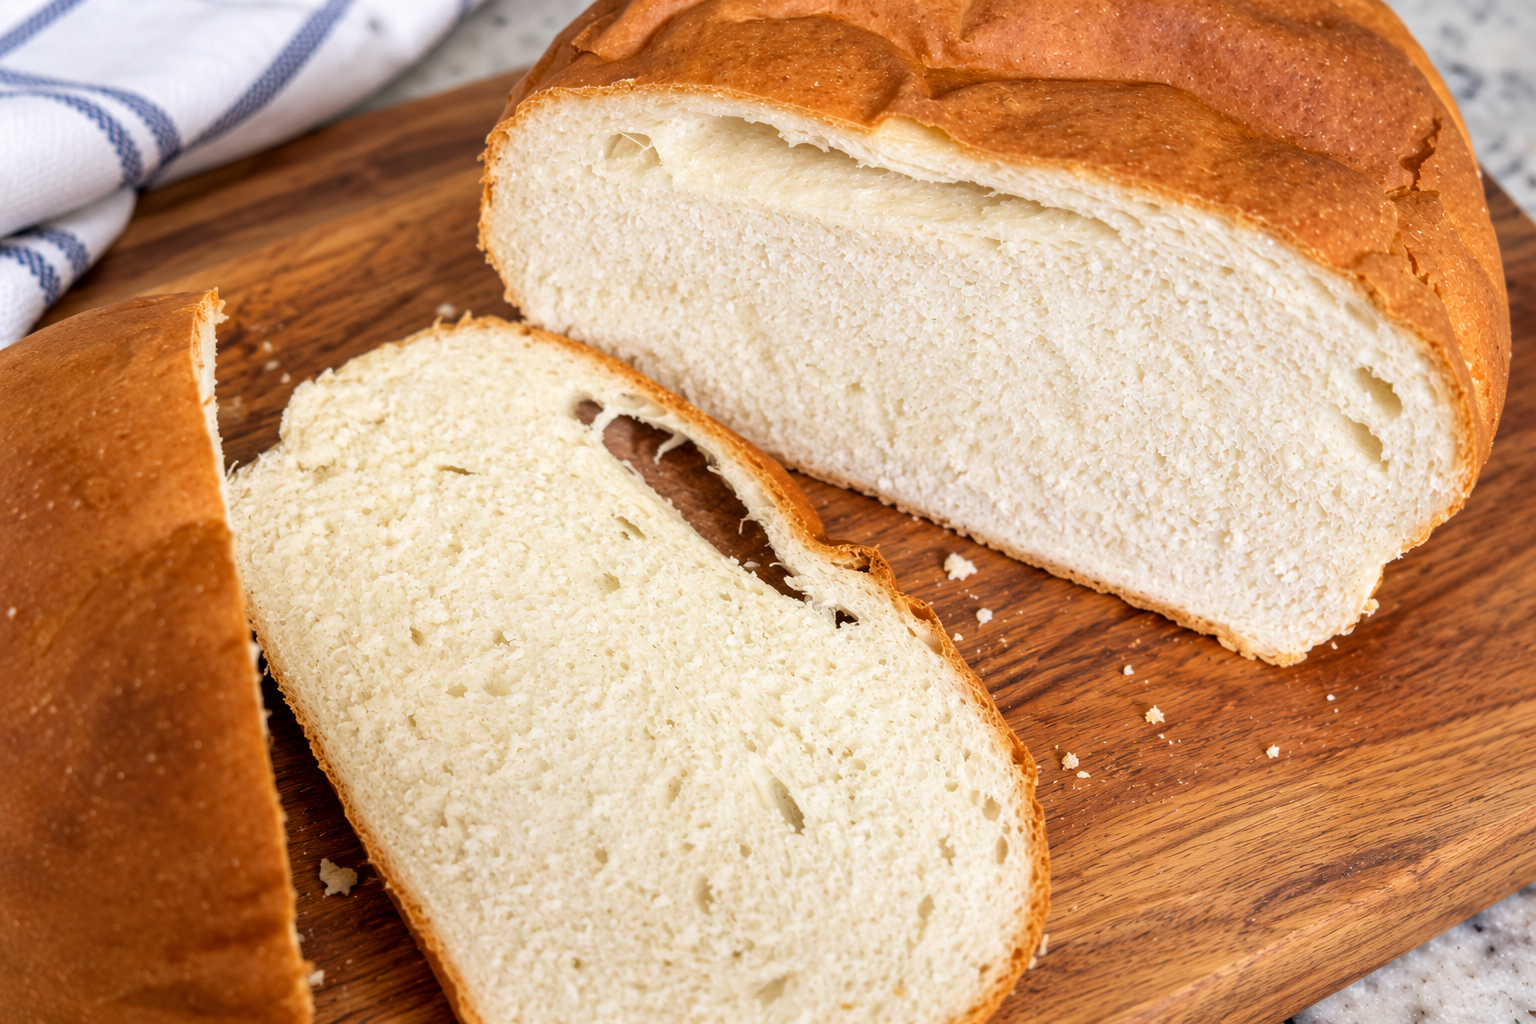
Easy Homemade Bread (No Bread Machine Needed)
Ingredients
Equipment
Method
- Activate the Yeast – In a large bowl, combine warm water, sugar, and active dry yeast. Stir gently and let it sit for about 10 minutes, or until the mixture becomes foamy.
- Prepare the Dough – Add the flour and salt to the yeast mixture. Mix everything with a spoon until the ingredients start coming together. If the dough feels too sticky, add 1–2 tablespoons of flour. If it feels too dry, add 2–3 tablespoons of water gradually. The dough should be soft and slightly sticky, not stiff.
- Knead the Dough – Transfer the dough to a clean, flat surface and knead for 5–7 minutes by pushing, folding, and stretching until it becomes smooth and elastic.
- Let the Dough Rise – Place the dough back into the bowl and cover it with a plate or plastic wrap. Leave it in a warm place until it doubles in size.
- Shape the Bread – Once the dough has doubled, gently punch it down to release the air. Knead for another minute, then shape it however you prefer. You can make small buns, a regular loaf, or a large round bread.
- Rest and Preheat – Let the shaped dough rest for another 10–15 minutes. Meanwhile, preheat your oven to 350°F (175°C).
- Bake the Bread – Bake for approximately 20–25 minutes, or until the outside turns golden brown. Baking time may vary depending on the size and shape of your bread. Small buns may bake faster, while larger loaves may need additional time. For best results, check that the center reaches approximately 190–200°F.
- Cool and Serve – Remove the bread from the oven and cover it loosely with a clean kitchen towel for about 30 minutes. Allow it to cool before slicing and serving.
Notes
Final Thoughts
Making bread at home may seem difficult at first, but once you try it, you’ll realize how simple it can be. You don’t need any special equipment or complicated techniques, just a few basic ingredients and a little patience.
Whether you shape it into a round loaf, make small buns, or bake it in a loaf pan, there’s something satisfying about enjoying freshly baked bread straight from your own kitchen.
Give this recipe a try, and don’t worry if your first loaf isn’t perfect. You’ll get better at understanding the dough each time you make it.



Leave a Reply