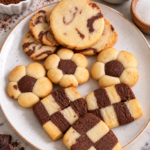
These easy vanilla and chocolate cookies start with one simple buttery dough and can be shaped into three different designs: marble cookies, flower cookies, and checkerboard cookies.
They are lightly sweet rather than overly sugary, with a simple buttery vanilla flavor and just enough cocoa in the chocolate dough. You don’t need a mixer or any special cookie cutters either. The dough comes together by hand, and you can choose whichever design you feel like making, or make a combination of all three.
They’re especially fun when you want a cookie that looks a little special without making several different batches of dough.
Why You’ll Love These Cookies
One dough, three designs: Make marble, flower, or checkerboard cookies from the same basic dough.
No mixer needed: The butter and sugar can be whisked together by hand.
Lightly sweet: These cookies have a mild sweetness that lets the butter, vanilla, and cocoa flavors come through.
Simple ingredients: They’re made with everyday baking ingredients.
Easy to customize: Use more or less of the dough for the chocolate portion depending on the design you choose.
Before You Start
The amount of chocolate dough you need depends on the cookie design. For marble and flower cookies, you’ll only need about ¼ of the dough for the chocolate portion. For checkerboard cookies, divide the dough approximately in half so you have similar amounts of vanilla and chocolate dough.
Ingredients You’ll Need
You only need a handful of simple ingredients to make the basic cookie dough.
For the Cookie Dough
1½ cups all-purpose flour
½ cup butter, softened but not melted
¼ cup sugar
¼ teaspoon baking powder
1 teaspoon vanilla extract
For the Chocolate Dough
1–2 tablespoons unsweetened cocoa powder
½–1 tablespoon additional sugar, depending on how much cocoa you use
Up to 1 tablespoon milk, only if needed
A Few Ingredient Notes
Butter: Make sure the butter is softened enough to whisk easily with the sugar, but don’t melt it. Soft butter helps create the right cookie dough texture.
Cocoa powder: You can adjust the amount depending on how deep you want the chocolate flavor and which design you’re making. The flower and marble cookies need a smaller chocolate portion, while the checkerboard cookies use considerably more chocolate dough.
Extra sugar: Since cocoa adds bitterness, I like adding a small amount of extra sugar to the chocolate portion. Start with ½ tablespoon and use up to 1 tablespoon depending on the amount of cocoa you’re adding.
Milk: You may not need milk at all. The butter in the dough is usually enough to bring the chocolate portion together. If adding cocoa makes it feel dry or crumbly, add a little milk, up to 1 tablespoon, just until the dough comes together.
About the Sweetness
These cookies are intentionally mildly sweet. They aren’t meant to be an overly sweet cookie. The lighter sweetness allows the buttery vanilla and cocoa flavors to stand out and makes them especially nice with a cup of tea or coffee.
How to Make the Cookie Dough
1. Cream the Butter and Sugar
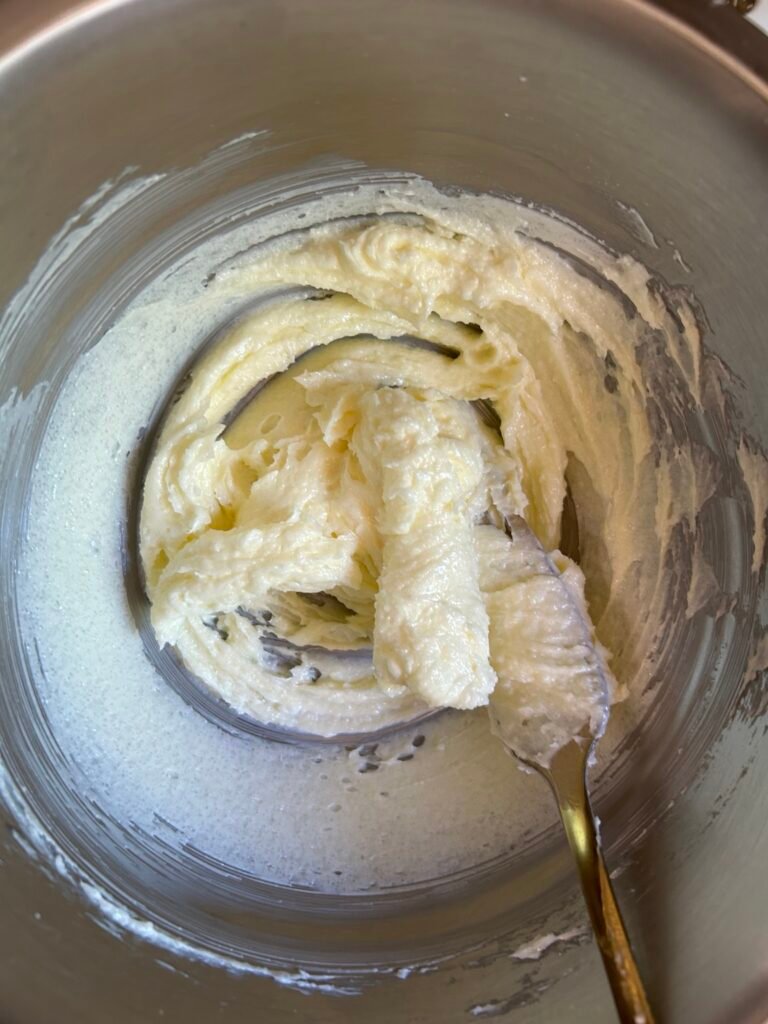
Add the softened butter and sugar to a mixing bowl. Using a hand whisk, mix until the butter and sugar are well combined and the mixture becomes smooth and lighter in color.
You don’t need an electric mixer for this recipe. Just make sure the butter is soft, not melted, before you begin.
Add the vanilla extract and mix until combined.
2. Add the Dry Ingredients
Add the all-purpose flour and baking powder to the butter mixture.
Gently mix until everything comes together into a soft dough. Avoid overmixing. Once you no longer see dry flour and the dough holds together, stop mixing.
3. Make the Chocolate Dough
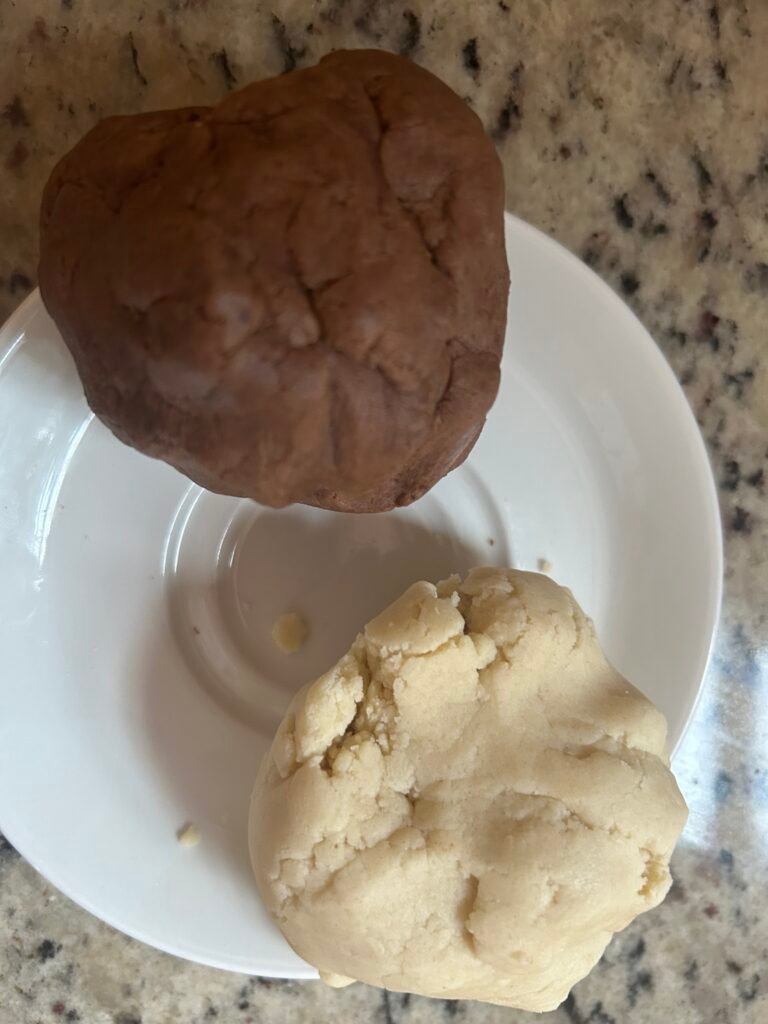
Now divide the dough according to the cookie design you want to make.
For marble or flower cookies, remove about ¼ of the dough to make the chocolate portion.
For checkerboard cookies, divide the dough into two approximately equal portions.
Add the cocoa powder and additional sugar to the portion you’re turning into chocolate dough. Gently work them into the dough until evenly incorporated.
The dough will usually come together without adding any additional liquid. However, if the chocolate dough becomes dry or crumbly after adding the cocoa, add a small amount of milk as needed, up to 1 tablespoon, until it comes together.
Choose Your Cookie Design
Now comes the fun part. You can use this same dough to make marble cookies, flower cookies, or checkerboard cookies.
Option 1: Marble Cookies
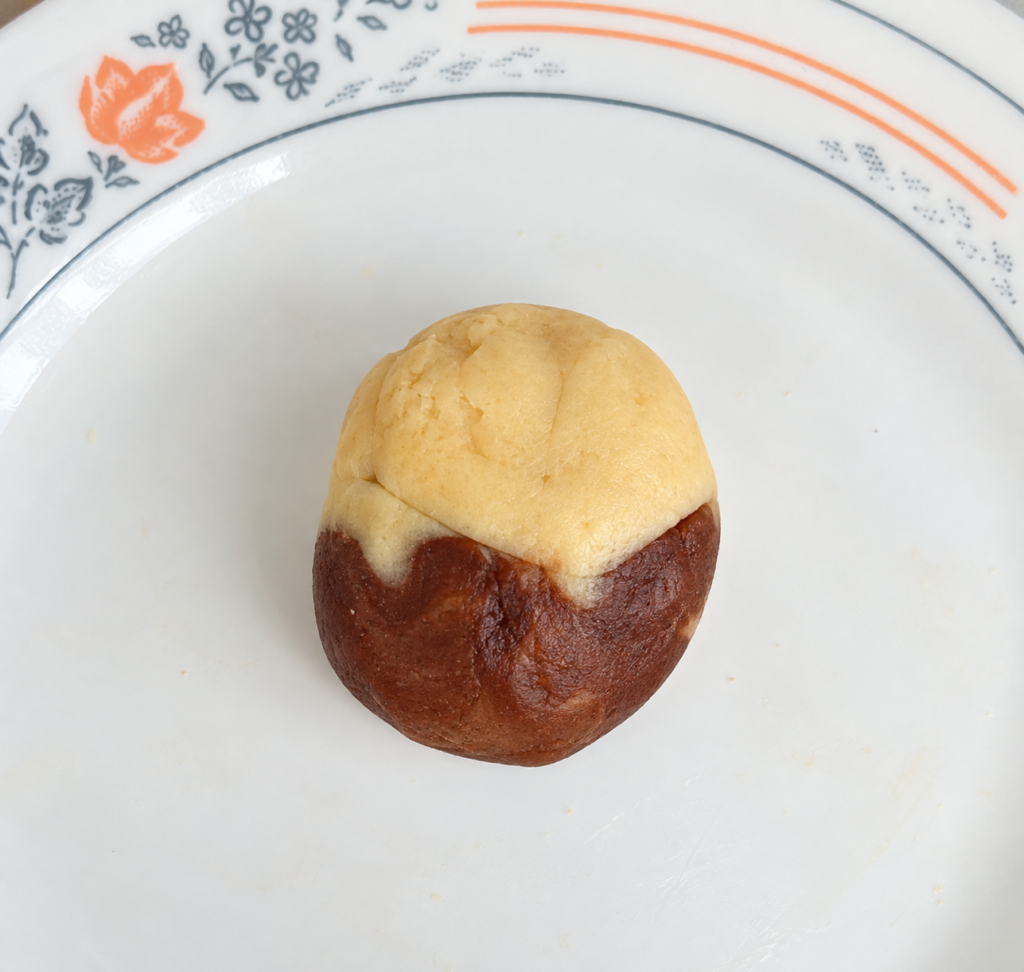
Take small pieces of the vanilla and chocolate dough and place them together. Gently bring the pieces together and roll them into a ball without kneading the two colors completely into each other.
Lightly flatten the ball with your palm to form a cookie. You should still be able to see distinct patches of vanilla and chocolate dough, which create the marbled appearance.
Don’t worry about making every cookie look the same. The irregular pattern is part of the charm, and each cookie will look slightly different.
Option 2: Flower Cookies
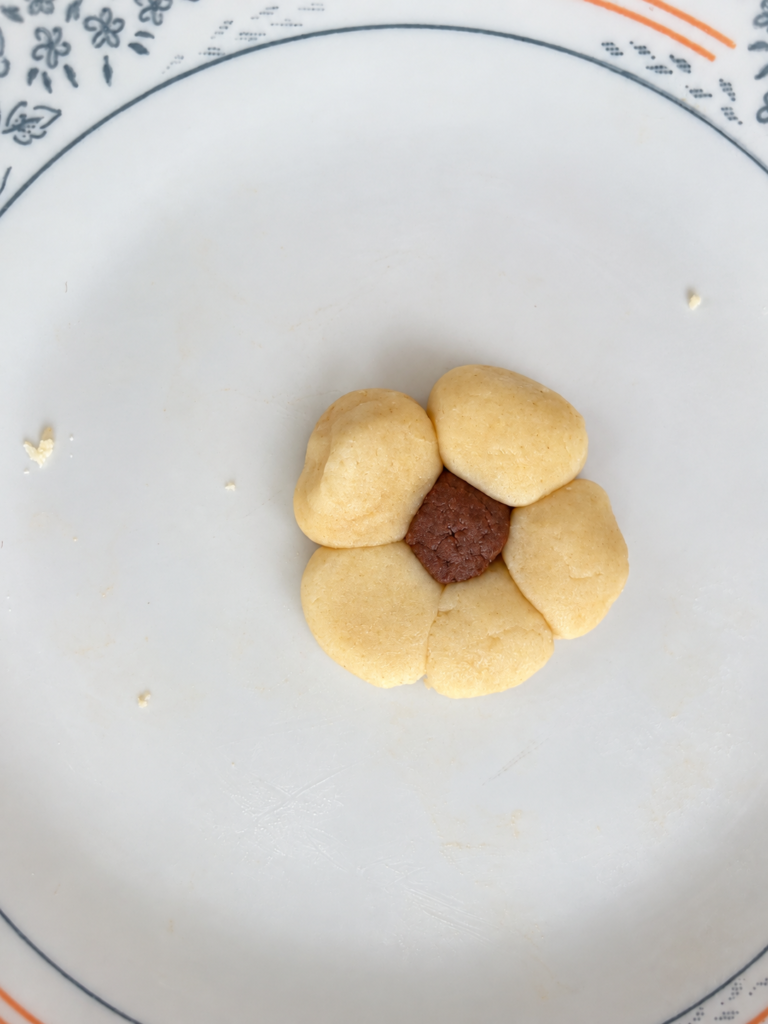
For the flower cookies, use about ¼ of the prepared dough to make the chocolate dough, leaving the remaining dough vanilla.
Shape the Flowers
Roll the vanilla dough into small, evenly sized balls. Roll the chocolate dough into smaller balls for the centers.
Place one chocolate dough ball in the center, then arrange six vanilla dough balls around it to form the petals. Keep the balls close together so they connect as the cookie bakes.
Gently press the entire flower with your fingers or palm to flatten it slightly. Don’t press too firmly. You want the individual petals and chocolate center to remain visible.
Tip: Five petals will work too, but I found that six petals create a fuller flower shape. Don’t worry if every flower isn’t identical. Just try to keep the individual dough balls similar in size so they bake evenly.
Option 3: Checkerboard Cookies
For checkerboard cookies, divide the prepared dough into two approximately equal portions. Keep one portion vanilla and add cocoa powder and the additional sugar to the other portion to make the chocolate dough.
Shape the Checkerboard Pattern
Roll the vanilla and chocolate dough separately into rectangles of approximately the same size and thickness.
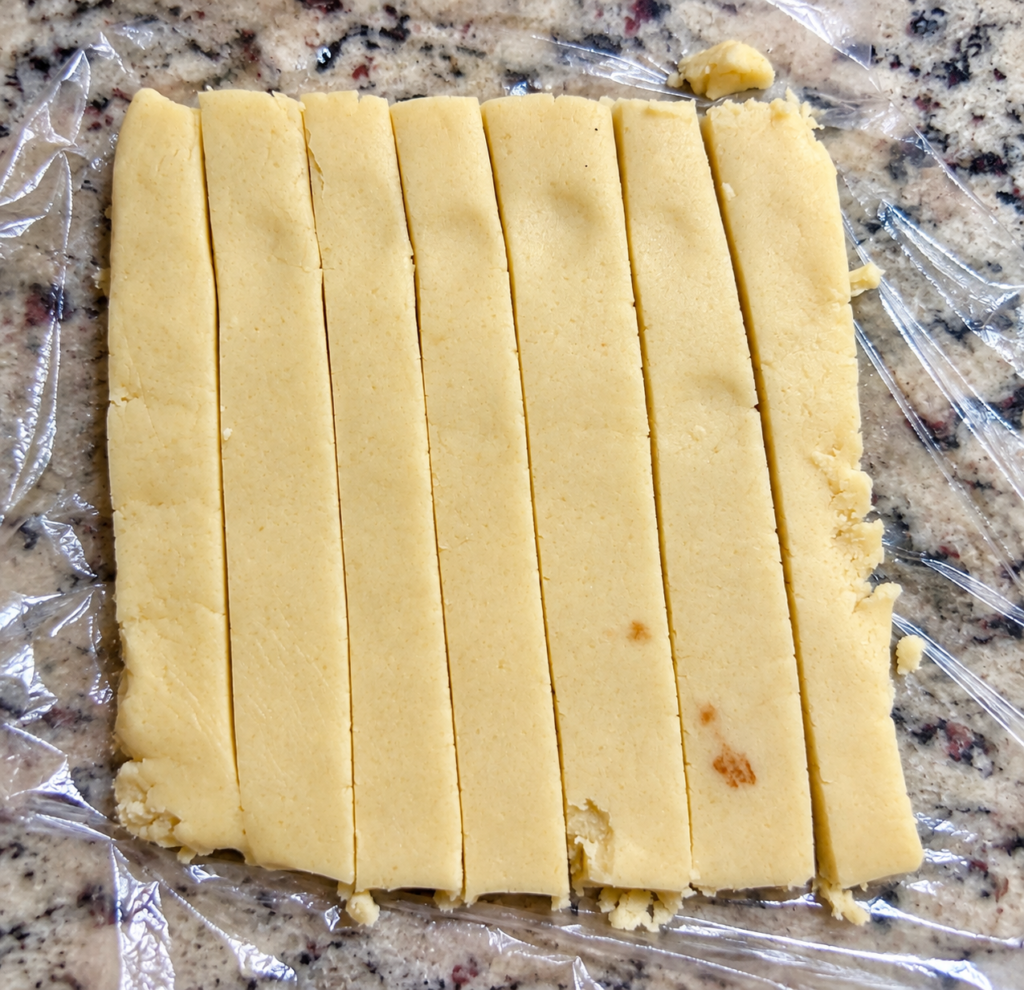
Trim the uneven edges to make the rectangles easier to work with. Cut both rectangles into long strips, trying to keep the strips similar in width and thickness.
Arrange the strips side by side, alternating vanilla and chocolate. Place another layer on top, reversing the colors so that vanilla sits over chocolate and chocolate sits over vanilla.
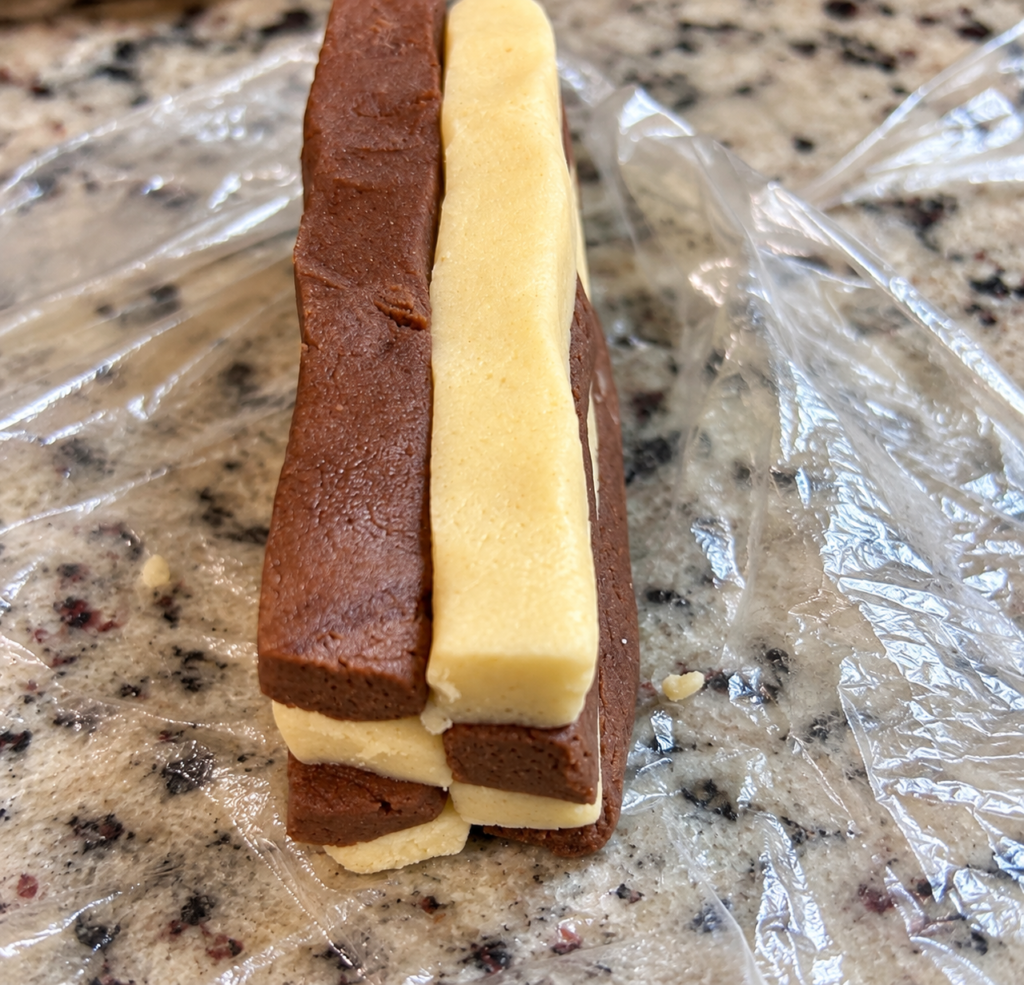
Gently press the strips together to form one rectangular log. Press just enough to help the pieces stick together without squashing the checkerboard pattern.
Chill and Slice
Chill the assembled dough log briefly, just until it feels firm enough to slice cleanly without losing its shape.
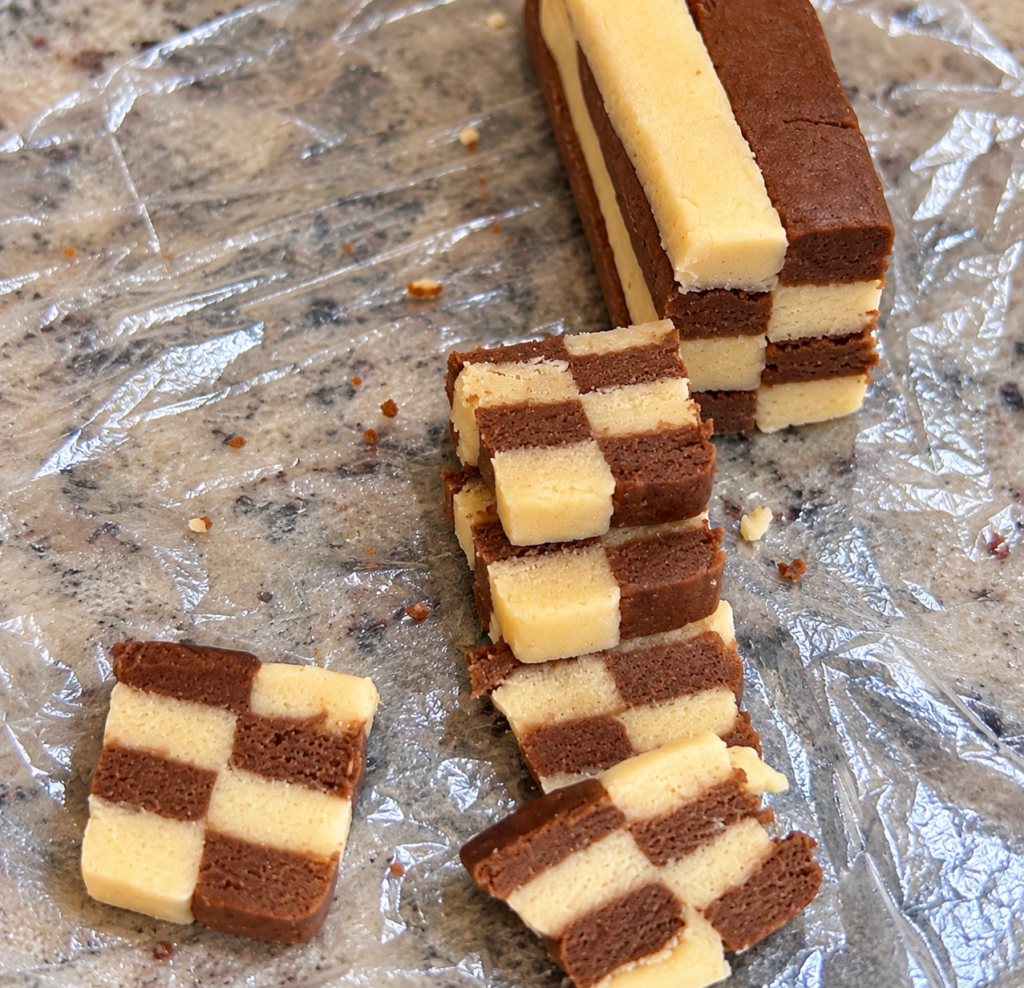
Using a sharp knife, cut the log into even slices. You should now see the checkerboard pattern in each cookie.
Tip: The strips don’t have to be perfectly identical. Keeping them reasonably similar in size will give you a clearer checkerboard, while small imperfections give the cookies a natural homemade appearance.
Bake the Cookies
Preheat the oven to 350°F (175°C) and line a baking sheet with parchment paper.
Arrange the shaped cookies on the prepared baking sheet, leaving a little space between them.
Bake for 10–12 minutes, checking at 10 minutes. The cookies are ready when the edges and bottoms are just beginning to take on a little color, while the tops remain fairly pale.
Don’t wait for the tops to become deeply golden. Remove the cookies from the oven and allow them to cool on the baking sheet for a few minutes before transferring them to a cooling rack.
Tips for the Best Cookies
Use softened, not melted, butter. The butter should be soft enough to whisk easily with the sugar. Melted butter will change the consistency of the dough.
Don’t overmix the dough. Once the flour is incorporated and the dough comes together, stop mixing.
Add milk only if needed. Cocoa powder can make the chocolate portion slightly drier. If it doesn’t come together easily, add a little milk, up to 1 tablespoon.
Keep the dough pieces fairly even. For flower petals and checkerboard strips, similar sizes help the cookies bake evenly and create a cleaner design.
Start checking at 10 minutes. The cookies should remain fairly pale on top, with just a little color appearing around the edges and bottoms.
Don’t aim for perfect patterns. Especially with marble cookies, every cookie will look slightly different. That’s part of the handmade look.
How to Store These Cookies
Allow the cookies to cool completely before storing them. Keep them in an airtight container at room temperature for up to 5 days.
To keep the different designs looking their best, arrange the cookies in a single layer or place a piece of parchment paper between layers.
Can You Freeze These Cookies?
Yes. Once completely cooled, place the baked cookies in a freezer-safe container with parchment paper between the layers. Freeze for up to 2 months.
Let them thaw at room temperature before serving.
Frequently Asked Questions
Why is my cookie dough dry or crumbly?
The dough should be soft enough to hold together. After adding cocoa powder, the chocolate portion may become slightly drier than the vanilla dough. If it isn’t coming together, add a small amount of milk at a time, up to 1 tablespoon.
Do I need an electric mixer?
No. One of the nice things about this recipe is that no mixer is required. Softened butter and sugar can be whisked together by hand until smooth and lighter in color.
Can I make only one cookie design?
Absolutely. You don’t have to make all three designs. You can use the dough to make only marble, flower, or checkerboard cookies. Just remember that the amount of chocolate dough changes depending on the design. Marble and flower cookies need about ¼ of the dough made chocolate, while checkerboard cookies work best with approximately equal portions of vanilla and chocolate dough.
Why did my checkerboard pattern lose its shape?
The dough may have been too soft when sliced. After assembling the checkerboard log, chill it until it is firm enough to cut cleanly. Also, press the strips together gently rather than squeezing or flattening the log.
Can I add more cocoa powder for a stronger chocolate flavor?
Yes, you can adjust the cocoa slightly according to your preference. Keep in mind that additional cocoa can make the dough drier. If needed, add a little milk to help the chocolate dough come together.
Are these cookies very sweet?
No. These cookies are intentionally lightly sweet. They have a mild sweetness so the buttery vanilla and cocoa flavors remain noticeable. If you prefer cookies that aren’t overly sugary, these are a good option.
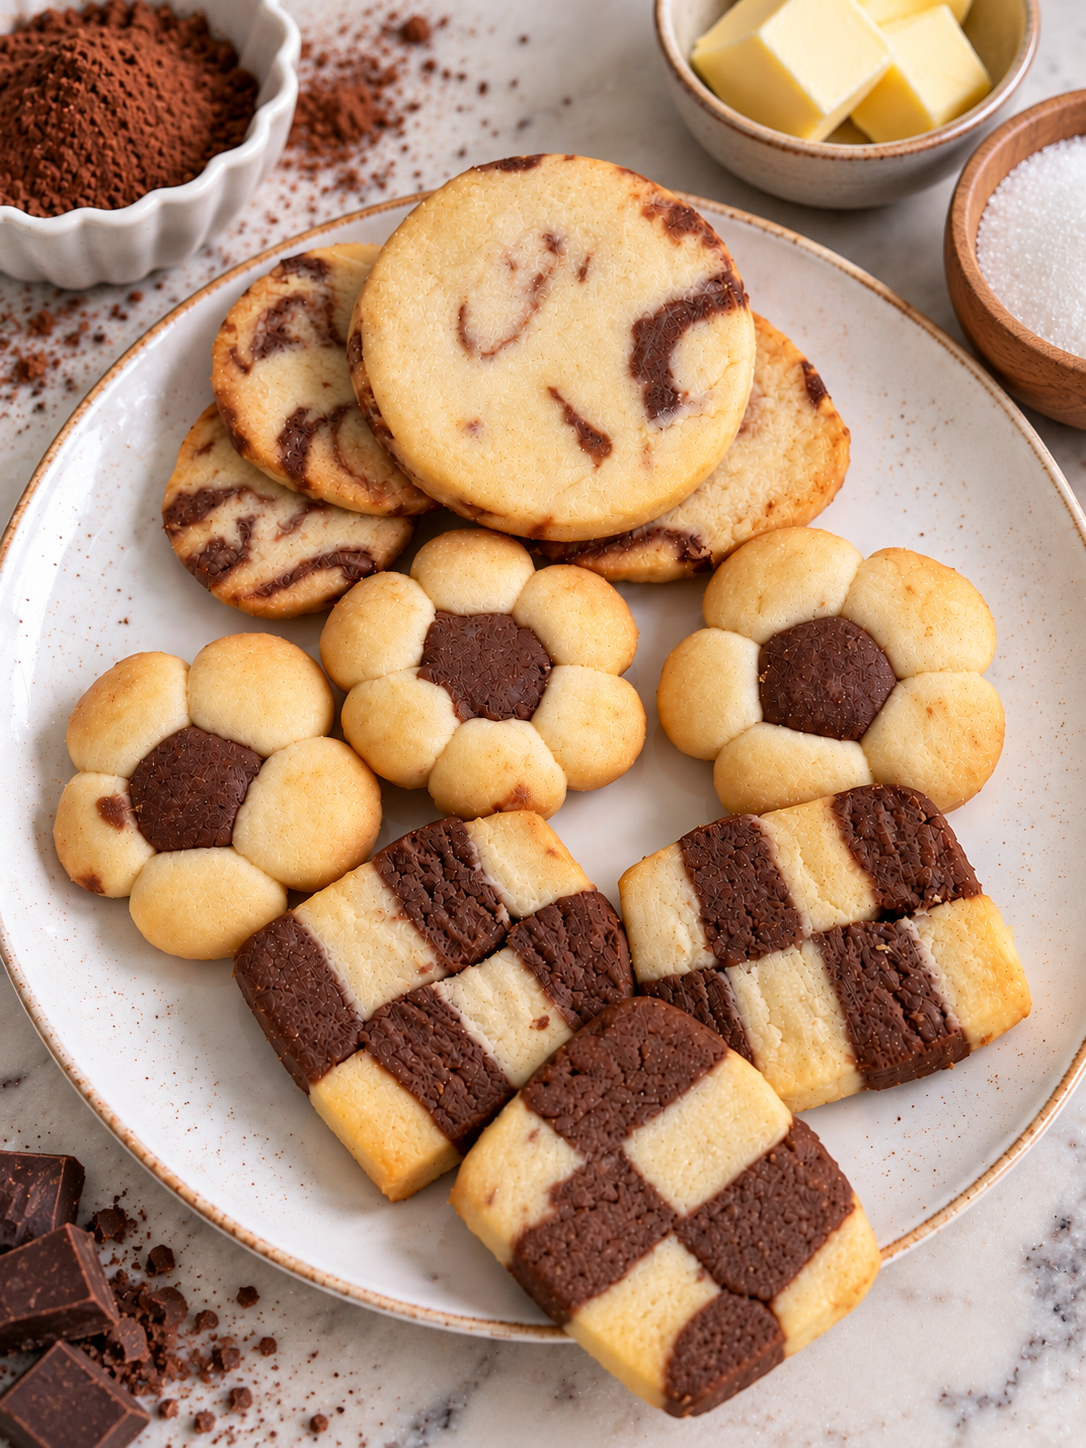
Easy Vanilla and Chocolate Cookies – 3 Ways
Ingredients
Method
- Cream the butter and sugar by adding the softened butter and sugar to a mixing bowl. Whisk by hand until well combined, smooth, and lighter in color. Add the vanilla extract and mix again.
- Add the flour and baking powder. Mix gently just until a soft dough forms. Do not overmix.
- For marble or flower cookies, remove about ¼ of the dough. For checkerboard cookies, divide the dough approximately in half.
- Add the cocoa powder and additional sugar to the portion being made into chocolate dough. Mix gently until combined. If the chocolate dough feels dry or crumbly, add a little milk as needed, up to 1 tablespoon.
- Cover and chill the prepared dough for 10–20 minutes. This makes the dough easier to handle and helps the cookies hold their shape. About 15 minutes works well.
- For the checkerboard version, after assembling the log, if it becomes soft from handling, you can chill it again briefly before slicing.
- For Marble Cookies: Take small pieces of vanilla and chocolate dough and gently bring them together. Roll into a ball without fully mixing the colors, then lightly flatten with your palm.
- For Flower Cookies: Make small balls from both doughs. Place one chocolate ball in the center and arrange six vanilla balls around it. Keep them touching, then gently press the flower to flatten it slightly.
- For Checkerboard Cookies: Roll the vanilla and chocolate dough into rectangles of roughly the same size and thickness. Trim the edges and cut into even strips. Arrange alternating vanilla and chocolate strips, then add another layer with the colors reversed. Gently press together to form a rectangular log. Chill until firm enough to slice cleanly, then cut into even slices.
- Preheat the oven to 350°F (175°C). Arrange the cookies on a parchment-lined baking sheet.
- Bake for 10–12 minutes, checking at 10 minutes. Remove them when the edges and bottoms are just beginning to take on a little color while the tops remain fairly pale.
- Let the cookies cool on the baking sheet for a few minutes before transferring them to a cooling rack.

Leave a Reply